We are learning to understand and follow the structure of a procedure.
I know I can do this when I write ten easy steps on how to make a paper
hen.
I know I can do this when I write ten easy steps on how to make a paper
hen.
What you need:
- Colouring pencils or pens
- Paper plate
- Some thin cards
- Black, brown and orange paint
- Paint brush
- Scissors
- Stapler
- Coloured paper
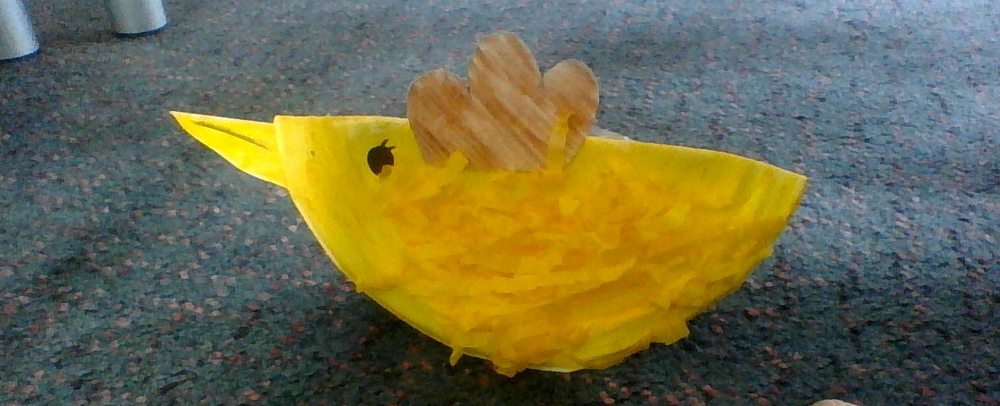
Steps:
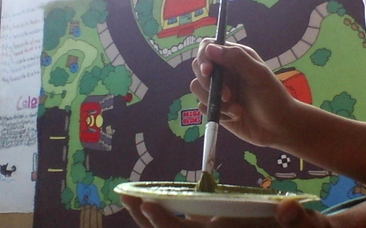
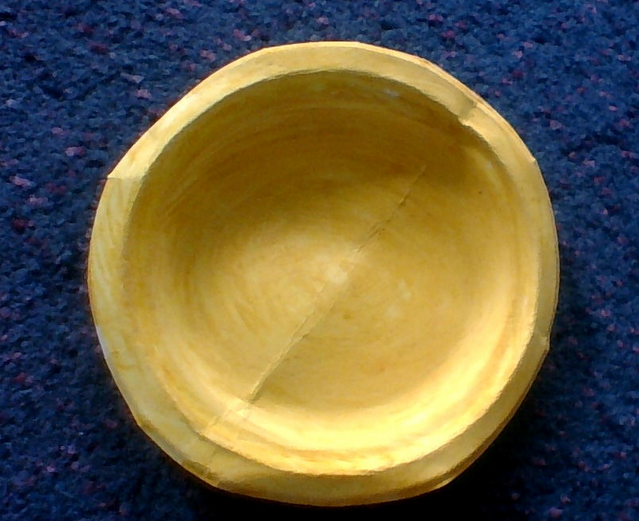
- First, grab your paper plate and then paint the back of the plate yellow or brown.
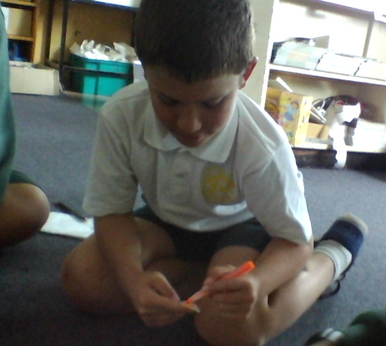
- Next, put the plate somewhere to dry, take some thin card and cut out a beak for your hen. After you have cut of the beak, you can colour it in with felt tips or paint.
- Cut out a comb for your hen and you can colour it red.
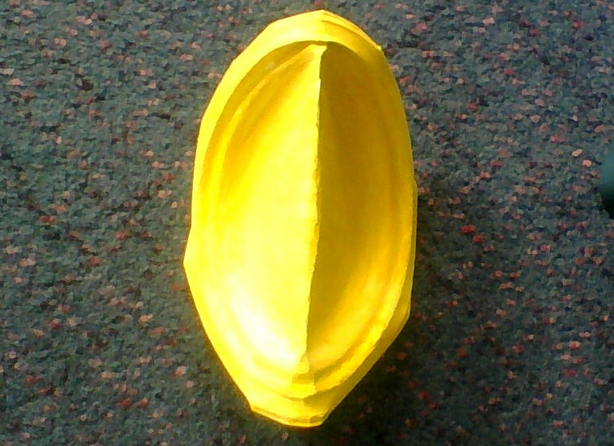
- When the paint on your plate has dried, fold it in half so that the paint is on the outside.
- Then fold the beak in half and staple it on the inside of the plate at the top of the fold.
- Staple the hen’s comb above the beak, along the fold of the plate.
- Paint or draw eyes for your hen.
- Give your hen some feathers, either by cutting the feathers out of coloured paper or you can draw the feathers on.
- Glue your feathers on both sides.
- Cut some grains or wheat using yellow paper. Give your hen a push and your hen will be able to rock back and forth pecking the wheat.
No comments:
Post a Comment
Note: only a member of this blog may post a comment.